ASP.NET Core 8 Image Upload & Display (With Database & Folder Options) — 2025 Complete Guide
Uploading images is one of the most common features in modern web applications. Whether you’re building an e-commerce site, admin panel, blog CMS, or profile management system, you need a secure and efficient image upload system.
In this step-by-step ASP.NET Core 8 tutorial, you will learn:
- ✔ How to upload an image using IFormFile
- ✔ How to save the image in a wwwroot folder
- ✔ How to store image bytes in a database
- ✔ How to display images back in a page / API response
- ✔ How to write clean & secure image upload code
- ✔ Best practices for .NET 8 file handling
If you want to secure your API with JWT before adding image upload, check the previous tutorial:
👉 JWT Authentication in ASP.NET Core 8 (With Refresh Token)
Let’s begin.
⭐ How Image Upload Works in ASP.NET Core 8
ASP.NET Core uses IFormFile to receive files from the client (Postman, form, frontend apps).
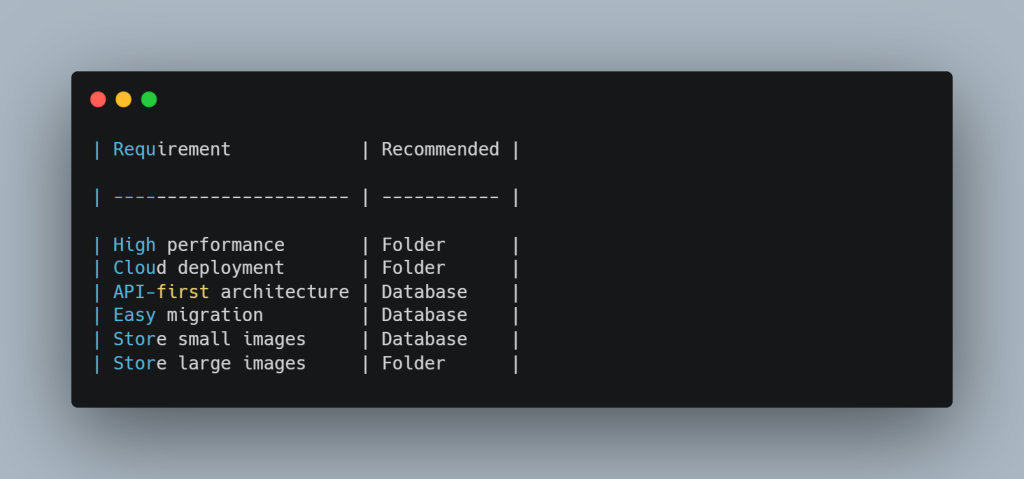
You can save uploaded images in two ways:
🔹 Option 1: Save Image in Folder (Recommended for performance)
Store only filename/path in the database.
🔹 Option 2: Save Image in Database (Good for APIs & portability)
Store actual bytes in the DB.
We will implement both methods so you can choose based on your project.
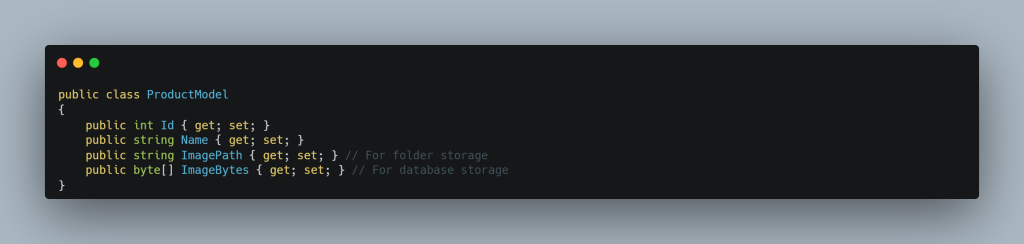
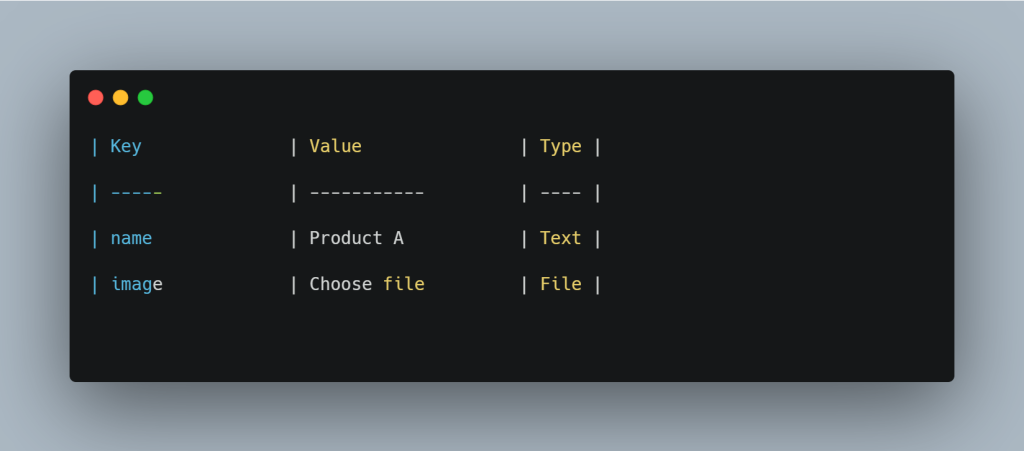
🧱 Step 1: Create Model Class
📌 Models/ProductModel.cs
🛠️ Step 2: Create Folder for Image Uploads
Inside your project:
wwwroot/uploads
If wwwroot is missing → Right-click project → Add → New Folder → Name it wwwroot.
Inside wwwroot → Add folder → uploads
🔧 Step 3: Configure Program.cs for Static Files
In Program.cs:
app.UseStaticFiles();
This allows images inside wwwroot to be accessed via URL.
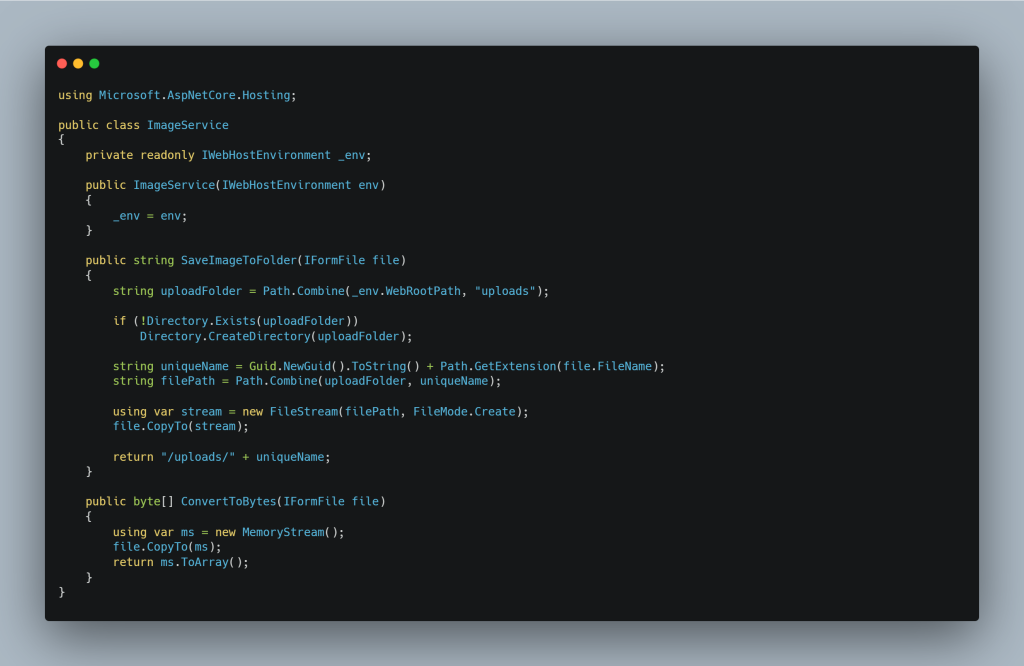
🧠 Step 4: Create Service for Image Upload
📌 Services/ImageService.cs
Register service in Program.cs:
builder.Services.AddScoped();
🧩 Step 5: Create API Controller
📌 Controllers/ProductController.cs

📸 Step 6: How to Test Image Upload in Postman
📍 POST → api/product/upload-folder
API response:
{
“id”: 1,
“name”: “Product A”,
“imagePath”: “/uploads/5fa9e2a3.png”
}
Then open the image in the browser:
https://yourdomain.com/uploads/5fa9e2a3.png
🖼️ Display Image in Web App or API Response
If using MVC or Razor:
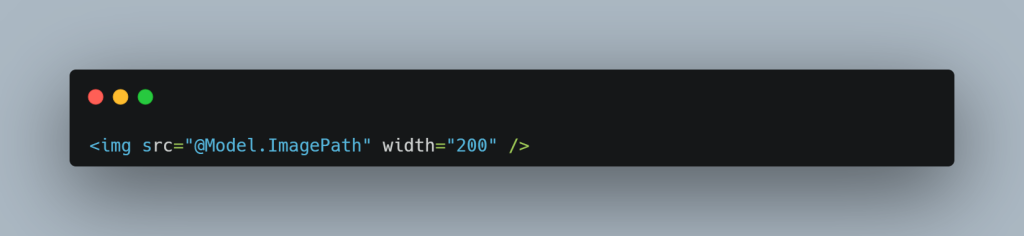
If using React, Angular, Vue:
Just bind the API’s imagePath as the src.
❓ FAQ — ASP.NET Core 8 Image Upload
1. How do I upload an image in ASP.NET Core 8?
Use IFormFile with a POST API endpoint and save to folder or database.
2. Should I save images in folder or database?
Folder is faster; database is more portable.
3. How can I display uploaded images?
Use the URL returned by API — images served from wwwroot.
4. What size images are supported?
You can configure max file size using RequestSizeLimit.
5. Does ASP.NET Core 8 support static file serving?
Yes, with app.UseStaticFiles() in Program.cs.
asp.net core 8 image upload tutorial
image upload and display in asp.net core
upload image to folder in .net 8
image upload to database in asp.net core
asp.net core iformfile example
save image in wwwroot folder
display uploaded image in asp.net core
file upload web api tutorial